
Brand kits can help you have access to logos, brand colors, and more easily!
A brand kit is part of Canva Pro, but not everyone has access to Canva Pro—here’s how to make brand assets like logos and colors easily accessible to you without Canva Pro!
Let’s get started: Making your brand kit
Make a folder
Start by making a folder on your home page by going to “All your folders” on the left side bar, and clicking “create new folder.” You can name your folder whatever you want.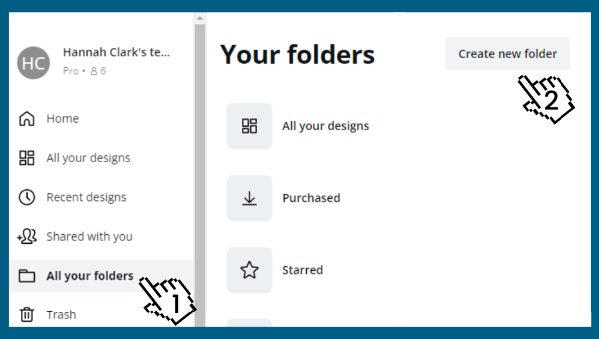
Upload your logos to your new brand kit folder
Click upload or drag and drop logos into the window to upload them to your folder. 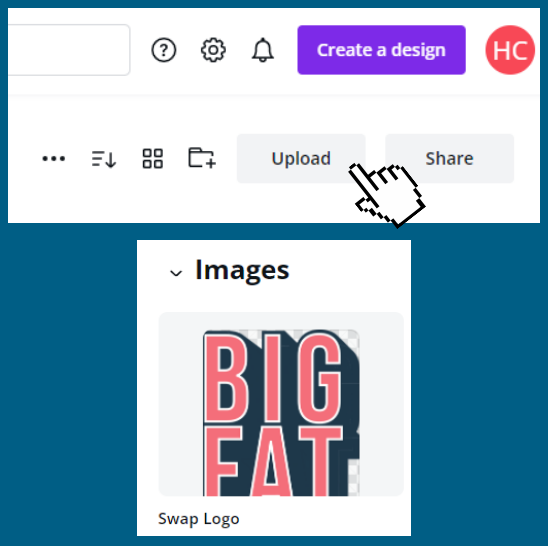
Create your color palette
Start by creating a design
Let’s opt for an Instagram post sized design.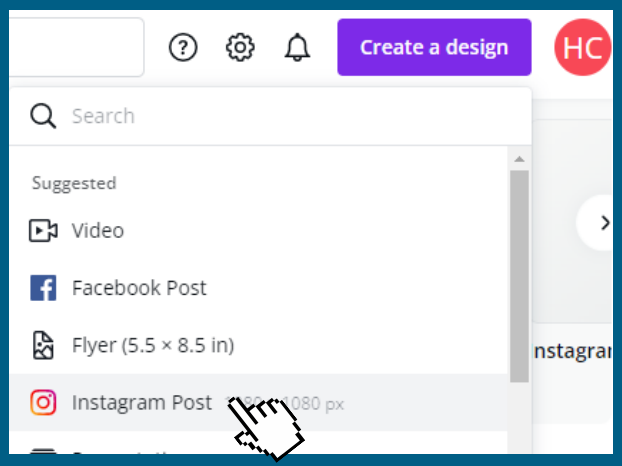
Add an element
Next, click “elements in the side bar and add a square to your design. Resize it to be W: 10,80 x H: 360 by clicking and dragging the corner.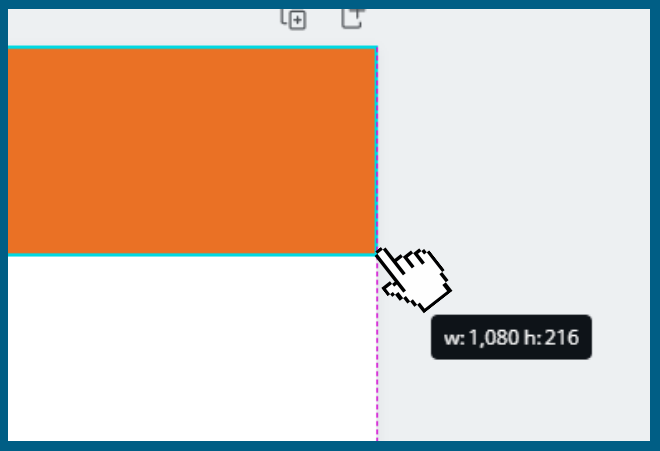
Duplicate that element
Click the “Duplicate” button on the tool bar. It will create a copy of the rectangle.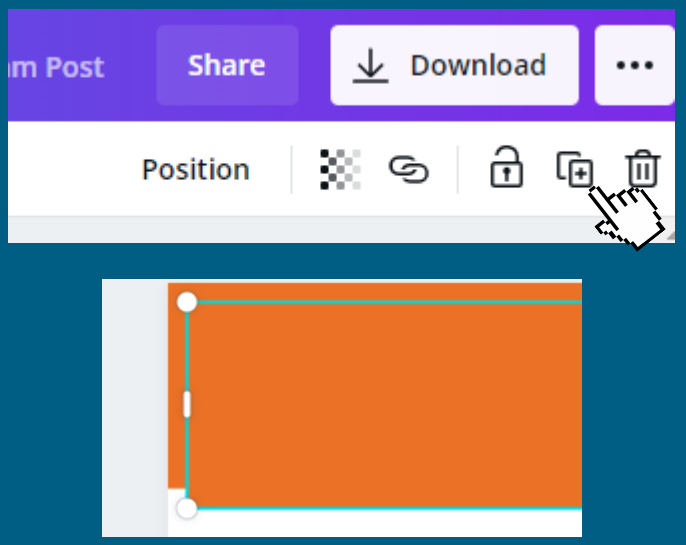
Recolor with your brand colors
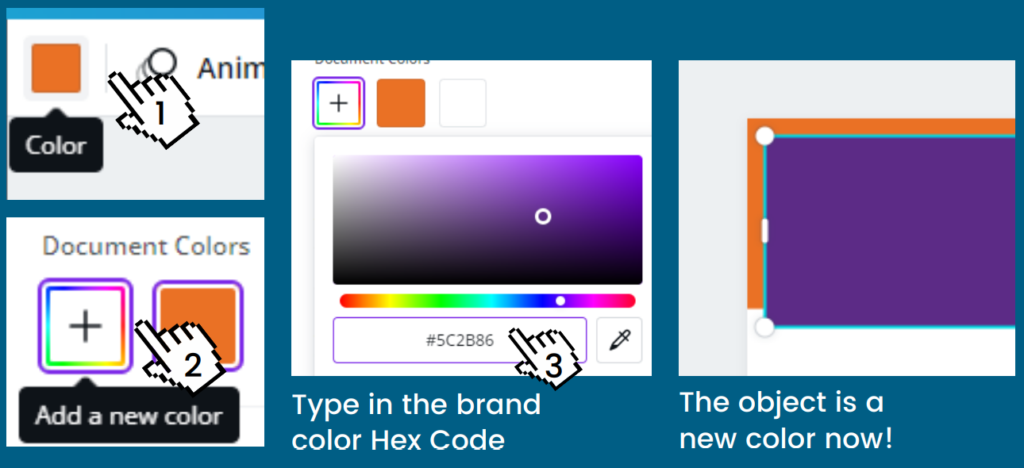
Click the color icon in the upper left-hand corner, and “add new color.” You can type in the brand color hex code color. The element is now a new color! Need to find the hex codes? Use a color picker tool.
Add your design to your folder
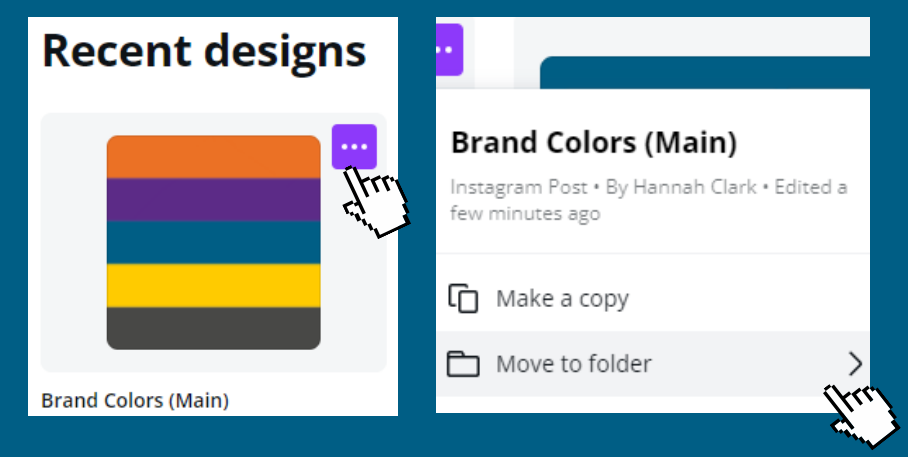
Once you’re done with your design, go back to your home page and move it to your Brand Kit folder.
Add your folder to your toolbar
To access your brand kit when you’re making a design, click “more” then select “Folders.” Next select your brand kit folder.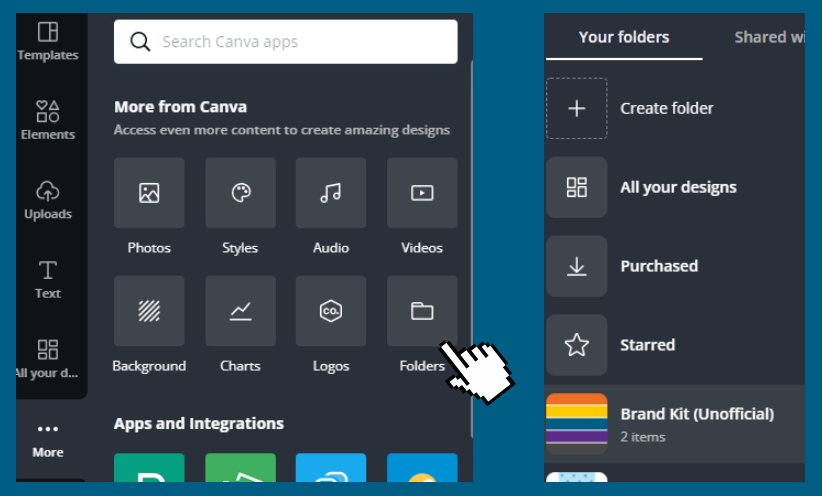
It’s now accessible in your sidebar! You can easily access your logos and palettes.
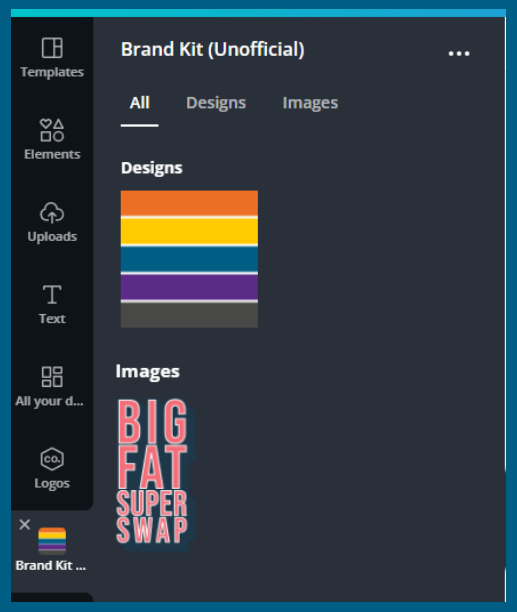
Ta-da!
Using your color palette
When you’re working on a design and want to use your color palette, add an extra page.
Open your brand kit, and click on your color palette to add it to the new page.
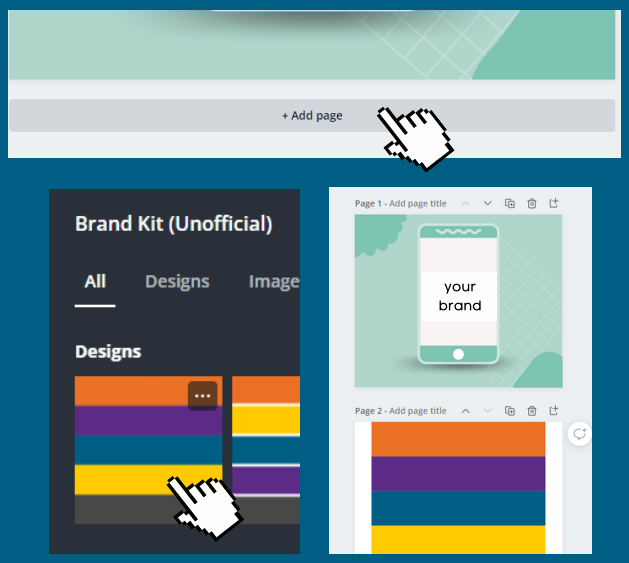
Now when you open your color panel, all of the colors will be there. When you’re done with your design, you can delete the extra page.
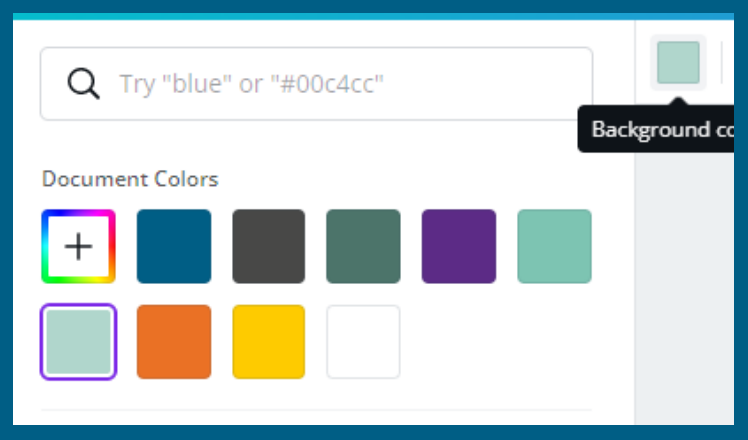
Your design now has all the colors you need!
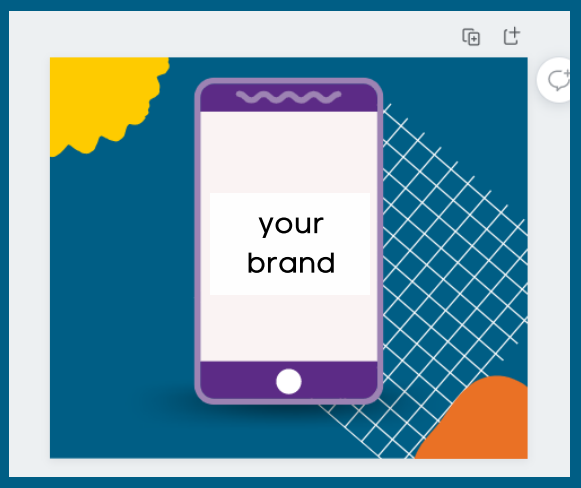
Now you have an easily accessible and usable brand kit! Enjoy! 🙂